

|
| NYC Sheer Red Lipstick |
I’ve heard great things about how natural red blush looks, but I don’t own a true red blush. Instead of buying one, I though I’d use one of my many red lipsticks as blush to see how I liked it. For this post, I even used a super-inexpensive red lipstick – NYC Sheer Red.
Along the way, I discovered some tricks for working with lipstick as cream blush; perhaps these are obvious – but perhaps they will be helpful for you!
Let’s start with the most obvious of all; it’s best to use something creamy, maybe something sheer, rather than something matte, because it will be too difficult to blend.
I like to apply the lipstick to the back of my hand; this warms it up a bit, making it easier to apply, and then I can use my fingers to apply just a little bit to my cheeks. However, with most lipsticks (and my dry cheeks), I still find it difficult to blend; so that’s where the rest of my tips come in.

|
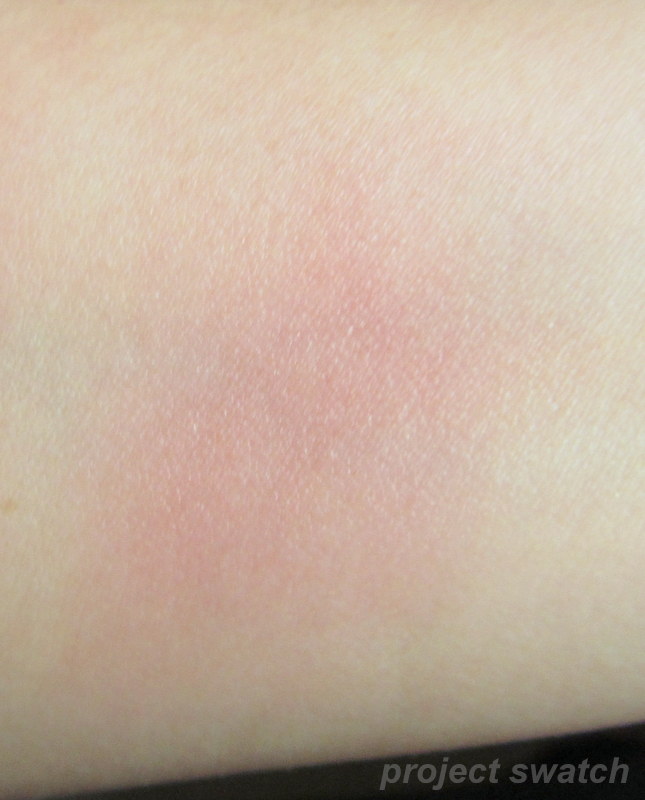
| Attempting a blended swatch with straight-up lipstick |
One option is to make sure that your face is well-moisturized – perhaps even over moisturized. This makes it easy to blend the lipstick-as-blush, but doesn’t work well with foundation, can leave you overly shiny, and can make powder (applied over, of course), cake up.

|
| Blended swatch over very moisturized skin |
So next, I tried blending a tiny drop of my moisturizer into the lipstick on the back of my hand. This makes the lipstick-as-blush blend beautifully on to my cheeks; but it still leaves me with the too-dewy cheeks problem.

|
| Lipstick + moisturizer |
|
| Lipstick + moisturizer, applied |
Finally, I figured out the best solution. I took a tiny drop of silicone-based primer (I used Hourglass Mineral Veil), and mixed that into the lipstick on the back of my hand. Then, I applied. This blended beautifully, and dried to a matte, very natural finish. Perfect!

|
| Lipstick + primer |

|
| Lipstick + primer, applied |
And the verdict on red blush? Love! It looks very natural applied – look for a FOTD coming up soon!
This post is from Project Swatch. All rights reserved.