Tag Archives: diy franken

DIY Sheer Tints Nail Polish

Purchased – No Affiliate Links

Lately, I’ve seen a lot of hype around the OPI Sheer Tints polishes and Sally Hansen Palm Beach [super sheer] Jellies.  If you haven’t seen swatches, Frazzle and Aniploish has excellent comparisons of both here.  However, I have heard bad things about the OPI formula and the sheerness of the Sally Hansens, so I though I’d experiment with making my own sheer tints.

DIY Sheer Polish-2-2

The Ingredients

They were very, very simple to make. I used red, yellow, and blue NYC polishes I already had (swatched here).  You can use cremes or jellies, but make sure that they don’t have a strong white base – that won’t work as well.

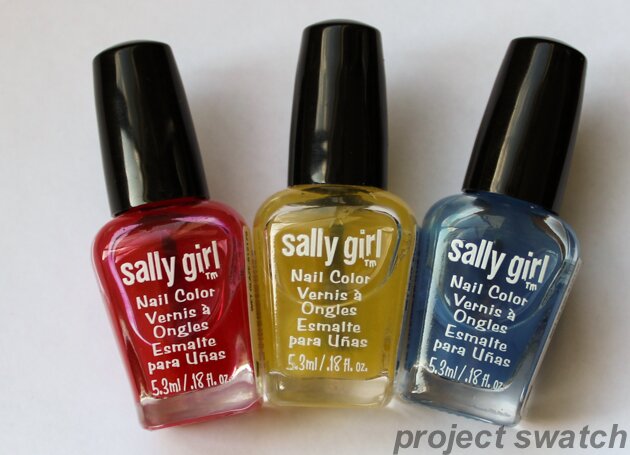
I wanted to make small bottles, so I bought inexpensive Sally Girl clear polish (you can use any clear polish or top coat, or use suspension base).  I simply poured out enough clear polish so that I could fit 3-4 drops of colored polish in the bottles, added the colored polish drops, shook the bottles, and voilà! Sheer tints!

DIY Sheer Polish-3

DIY Sheer Polishes

They are a touch streaky (which could probably be fixed by mixing them more thoroughly), but work beautifully for nail art, which is why I wanted them in the first place.

DIY Sheer Tint Polish

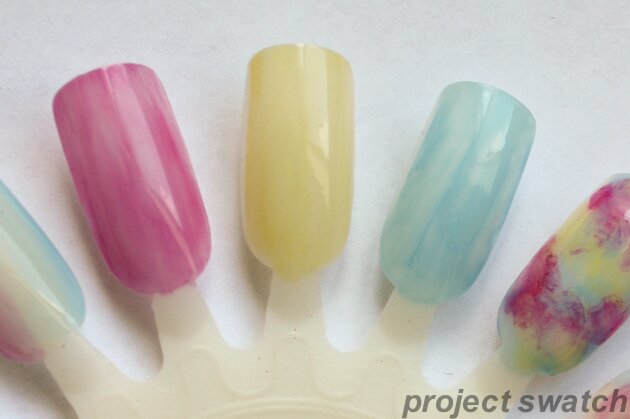
One coat of each; the red is a little bit more opaque than I intended, and you can see that they’re a bit streaky.

DIY Sheer Polish

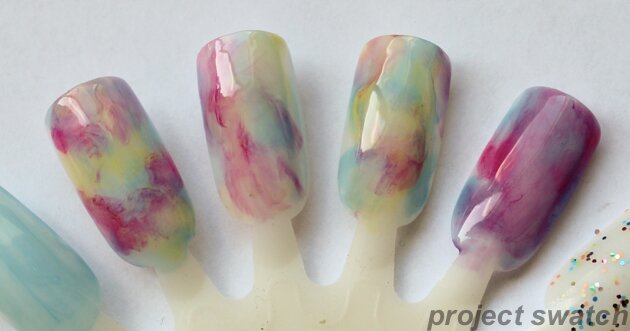
Super easy nail art!

Do you ever franken (mix) your own nail polishes?

// //

DIY: How To Franken Your Own Jelly Nail Polish

DIY Jelly Nail Polish Franken

DIY Jelly Franken

I’ve been playing around with nail polish a lot lately, and I’ve been getting interested in frankening. Thus far, I haven’t gone so far as to buy suspension base & glitters to make my own nail polish from scratch, but I’ve been combining store-bought nail polishes to create new colors and finishes.

My most recent adventure – and most successful polish to date – was a super-easy combination of clear polish with a coral creme to make a jelly polish.  Depending on the light, the polish looks either orange or strawberry.  On my swatch wheel, I have one, two, three, four coats of my franken, the a full-strength coat of the creme I used – Revlon Delicious, from the Colorstay line.

Jelly Franken Supplies

Jelly Franken Supplies

Making this polish was super simple; I started off with a bottle of Wet n Wild clear polish, and poured out half.  Then, I added some of Revlon Delicious – I’d guess less than a quarter bottle; so the ratio was about 2/3 clear and 1/3 creme polish, though I’m not exactly sure.  I left space at the top of the bottle, so I could shake it up and mix it easily.

When I swatched it on my nail wheel, it was a bit streaky:

So, I added some nail polish thinner.  The thinner worked perfectly – leaving me with a thin, smooth, and glossy jelly polish!

Here it is on my nails – this is three coats:

You can see that it looks more orange here than in the swatch wheel photo; like I noted above, it seems to vary from more orange to more strawberry/ reddish based on the light.

Overall, I’m so thrilled with it! I love jelly finish polishes, and this is a super-cheap way to turn my cremes into jellies (and keep the cremes too, since it only uses about a quarter of the creme).

Have you tried frankening? Any notable successes or failures?