
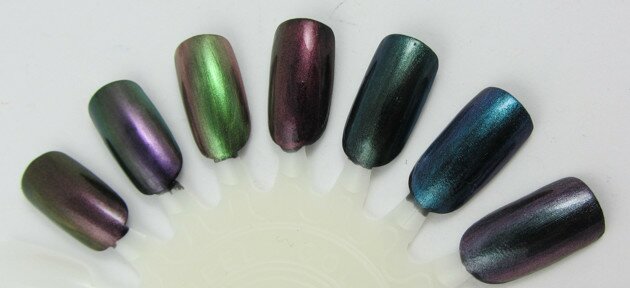

Mercury, Venus, Earth, Mars, Jupiter, Neptune, Pluto
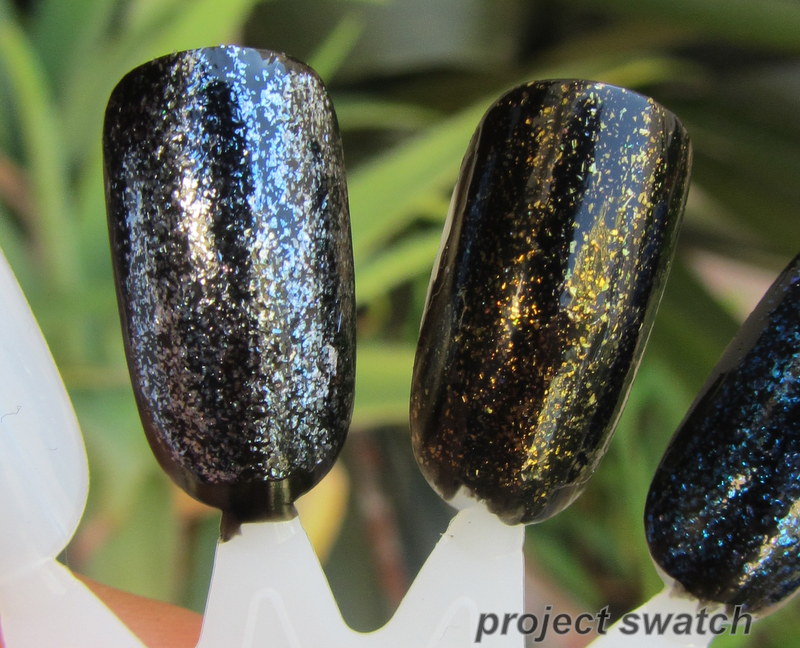
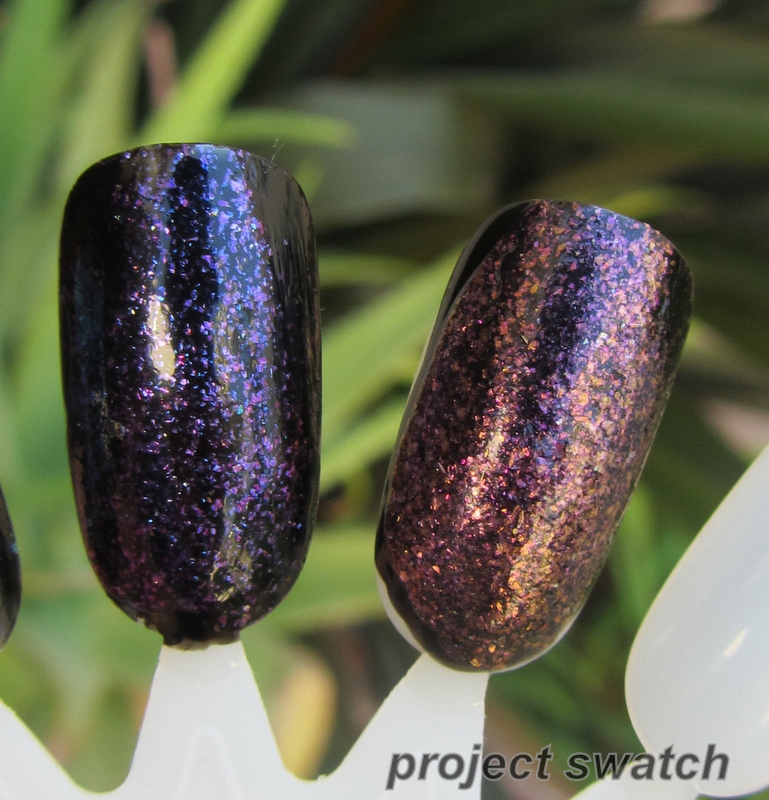
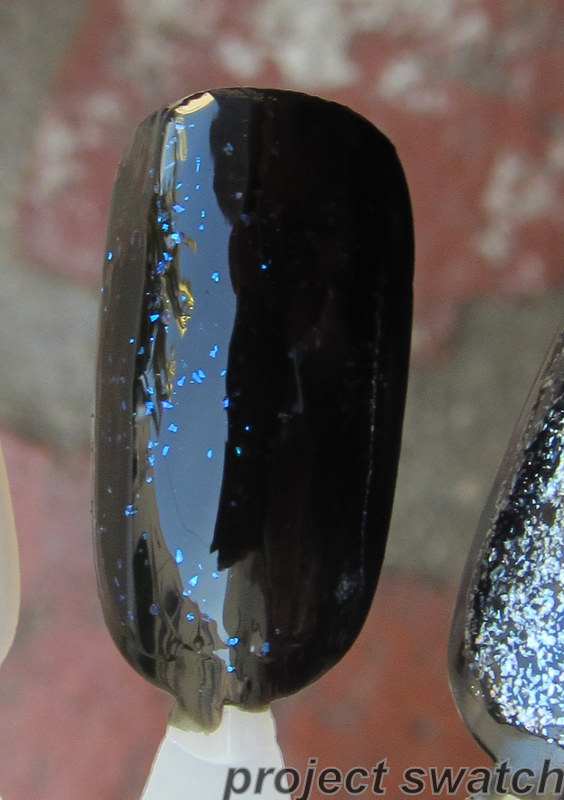
Angled to better show duochrome
A long, long time ago I promised to post swatches of franken nail polishes made with TKB Trading’s Planetary Sampler – seven different color shifting pigments which can be used in nail polish. The pigments are also sold separately as Travel to Mercury, Travel to Venus, etc.
I’ve had the polishes sitting out for months – and here are swatches! They are really lovely, and I’d highly recommend getting the sample set if you’re into frankening polish at all.
I made these polishes by mixing a bit of pigment with suspension base, and the pictured swatches are each one coat of the polish over a black creme. I’ve also photographed the polishes underwater to better show the duochrome.

Mercury, Venus, Earth, Mars, Jupiter, Neptune, Pluto
And some slightly blurry close-ups:

Mercury, Venus, Earth, Mars

Jupiter, Neptune, Pluto
Venus and Pluto are my favorites – what about you?


