

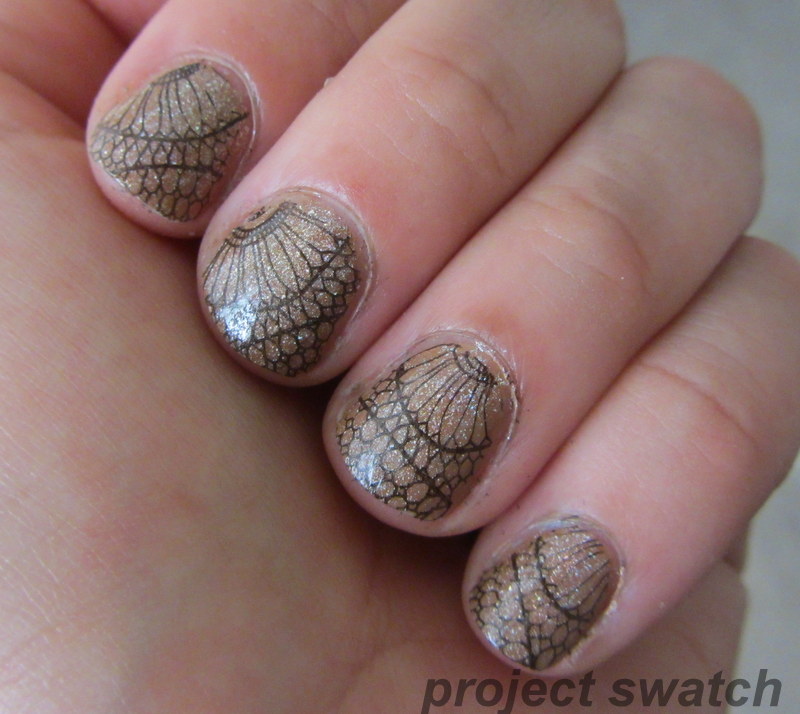
OPI DS Classic stamped with Cheeky Plate D |
My nails are super short nubs right now due to a split and filing down to match – they’re always short, but this is shorter than usual. I was playing around yesterday, and I think that this combination works really well on them; using a base color close to my skintone keeps it low-contrast and de-emphasizes the short length, and the sparkle and delicate stamping adds interest. As in the caption, this is OPI DS Classic stamped with an image from Cheeky Plate D.
Because of the scattered holo sparkle, this is especially great in the sun. In the shade, it’s more muted but still pretty.
I bought Cheeky Plate D from a local nail supply store, I’m not sure of the best place to buy online. It’s a great quality plate – it was very easy to stamp the images.
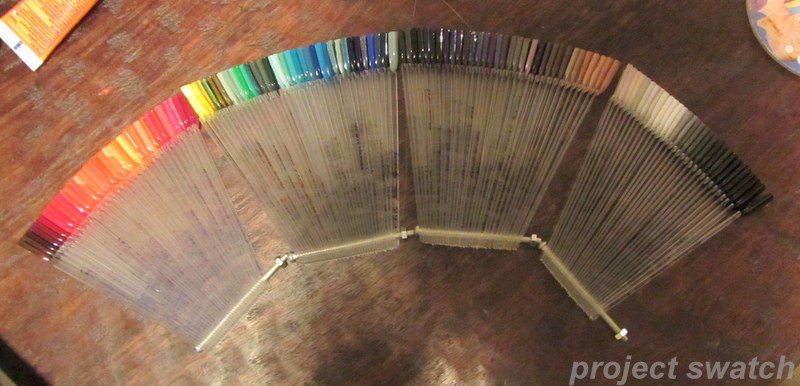
In other nail polish news, I’ve been busy swatching all of my nail polish on swatch sticks. I did all of my frankens last week on mini swatch sticks (again from a local beauty supply), and yesterday my giant ebay order of regular sized swatch sticks arrived. I spent a couple hours yesterday and managed to swatch most of my cremes/jellies/sheers/shimmers, and today I’ll be swatching the glitters, duochromes, flakies, and other special finishes.
| Almost 150 swatch sticks – mostly cremes |


